Hosting n8n on Render.com: Lessons from Production
Deploying n8n on Render.com: the actual config we use, free-tier limits, Postgres setup, and the cold-start gotchas that catch teams out in production.
By Matthew Clarkson · June 27, 2024
Updated May 2026. Rewritten to reflect Render’s current pricing, the move to native Docker support, and the production patterns we run for clients.
Render is a clean, opinionated platform-as-a-service that handles n8n well for the right workload. It is one of three or four hosting options we genuinely recommend to clients, depending on what they need. The honest take below is what we wish someone had told us before our first Render deployment.
At Osher Digital, we are a Brisbane-based AI and automation consultancy. We have shipped n8n on Render, Fly.io, Railway, Coolify, and bare Docker Compose for clients across healthcare, recruitment, and professional services. This guide covers the Render-specific patterns: when it shines, when it does not, and the configuration we actually use.
If you are still choosing a hosting platform, our broader self-hosting n8n guide covers the alternatives. If you want to compare to Fly.io specifically, see our Fly.io guide. This article assumes you have decided on Render.
The Quick Take on Render for n8n
Render works well for small-to-medium n8n deployments where you want a managed Postgres alongside the app, you do not want to think about servers, and you can live with US-region or Frankfurt latency for the Australian users. The free tier exists but is not suitable for any production use of n8n. The paid tier starts at $7 USD per month for the web service plus $7 USD for Postgres, which is competitive with raw VPS hosting once you factor in the avoided ops work.
We have moved exactly one client off Render onto a different platform, and that was for a workload that needed Sydney-region inference and high IO throughput. For everything else Render has been steady.
The Render-Specific Things to Know
Three details about Render that catch teams out:
The free tier sleeps after 15 minutes of inactivity. Cold start to wake the service is 30-60 seconds. For an n8n instance that handles webhooks, this means the first webhook in any quiet period times out at the source. Stripe gives up at 8 seconds. Most CRMs give up at 10. Free tier is fine for hobby exploration. Not for anything triggered externally.
Persistent disk is a paid add-on. n8n’s data directory (encryption key, binary data, SQLite if you use it) needs persistence across deploys. On Render this is the “Disks” feature, $0.25 USD per GB per month. The minimum 10 GB is more than enough for an n8n instance and costs $2.50 USD per month. Add it on day one or your first deploy will lose state.
Render’s regions are Oregon, Virginia, Frankfurt, Singapore, and Ohio in May 2026. No Australia. Singapore is the closest with about 100ms RTT to Sydney, which is fine for back-office automation but noticeable for interactive workflows. We typically pick Oregon for clients whose users are mostly browsing webhooks, Singapore for clients with users in the workflow editor.
The Setup We Use
The structure: a Render Web Service running the official n8n Docker image, a Render Postgres database in the same region, a 10 GB Disk mounted at /home/node/.n8n, and environment variables wired to the database via Render’s connection string variable.
Use a render.yaml in your repo so the deploy is reviewable in Git:
services:
  - type: web
    name: n8n
    runtime: image
    image:
      url: docker.io/n8nio/n8n:1.94.0
    region: oregon
    plan: starter
    disk:
      name: n8n-data
      mountPath: /home/node/.n8n
      sizeGB: 10
    healthCheckPath: /healthz
    envVars:
      - key: N8N_HOST
        value: n8n.yourcompany.com
      - key: N8N_PROTOCOL
        value: https
      - key: N8N_PORT
        value: "5678"
      - key: WEBHOOK_URL
        value: https://n8n.yourcompany.com/
      - key: GENERIC_TIMEZONE
        value: Australia/Brisbane
      - key: DB_TYPE
        value: postgresdb
      - key: DB_POSTGRESDB_HOST
        fromDatabase:
          name: n8n-postgres
          property: host
      - key: DB_POSTGRESDB_PORT
        fromDatabase:
          name: n8n-postgres
          property: port
      - key: DB_POSTGRESDB_DATABASE
        fromDatabase:
          name: n8n-postgres
          property: database
      - key: DB_POSTGRESDB_USER
        fromDatabase:
          name: n8n-postgres
          property: user
      - key: DB_POSTGRESDB_PASSWORD
        fromDatabase:
          name: n8n-postgres
          property: password
      - key: N8N_ENCRYPTION_KEY
        generateValue: true
      - key: EXECUTIONS_DATA_PRUNE
        value: "true"
      - key: EXECUTIONS_DATA_MAX_AGE
        value: "168"

databases:
  - name: n8n-postgres
    databaseName: n8n
    user: n8n
    plan: starter
    region: oregon
This config is the working starting point. Pin the n8n image version. We have rolled back exactly twice in three years of running n8n, both times because the latest tag shipped a breaking change. Five seconds of typing saves a half day of unpicking.
The generateValue: true on N8N_ENCRYPTION_KEY is a Render feature that creates a strong key on first deploy and keeps it stable across redeploys. After deploy, copy the value out of the Render dashboard and store it somewhere safe. The encryption key lives in 1Password for every client we run. If you lose it, every credential in the database becomes unreadable and you re-enter them by hand. We have done this once. Two weeks of work.
The Database Decision
n8n defaults to SQLite which lives on disk. On Render, that means SQLite on the persistent Disk you attached. It works for very small workloads but we do not recommend it past about a hundred workflow executions per day. Database queries get slow, the file gets large, and deploys that touch the disk get awkward.
Render’s managed Postgres is the better path. Starter plan ($7 USD per month) gives 1 GB storage and 256 MB RAM, which is enough for a busy n8n with the prune settings on. Daily backups are included. The connection string is provided as environment variables, so the wiring is one block of YAML.
The pruning settings are not optional. EXECUTIONS_DATA_PRUNE=true with EXECUTIONS_DATA_MAX_AGE=168 (hours, so 7 days) keeps the executions table from quietly growing into a problem. The single biggest debugging session we have lost time on with self-hosted n8n was a Postgres instance that had quietly accumulated three years of execution logs and was making every workflow page load take fifteen seconds. Set this on day one.
Deploying with Render’s Native Build
Push the render.yaml to a Git repo Render is connected to. Render detects it on push and creates the resources. First deploy takes about 4 minutes. Subsequent deploys are 60-90 seconds.
Render also supports building from a Dockerfile in the repo if you want to bake custom packages into the image. We rarely need this for n8n. The official image covers everything except a few specific use cases (custom community nodes pre-installed, system fonts for PDF rendering). When we do need it, the Dockerfile is short:
FROM n8nio/n8n:1.94.0
USER root
RUN apk add --no-cache fontconfig ttf-dejavu
USER node
For DNS, Render gives you a yourapp.onrender.com hostname out of the box. Add a custom domain in the Web Service settings, point a CNAME at the Render-provided value, and Render handles SSL automatically. WEBHOOK_URL in the environment must match the public URL or external services will not be able to reach your webhooks.
Costs: Realistic Numbers
For a production-grade n8n setup on Render in May 2026, USD pricing:
- Web Service Starter (512 MB RAM, 0.5 CPU): $7 USD per month
- Web Service Standard (2 GB RAM, 1 CPU): $25 USD per month
- Postgres Starter (1 GB storage, 256 MB RAM): $7 USD per month
- Persistent Disk 10 GB: $2.50 USD per month
- Bandwidth: 100 GB included, $30 per TB after
Realistic monthly cost for a small business n8n deployment: $17 USD ($26 AUD) on Starter. Once you outgrow Starter and move to Standard, total runs $35 USD ($54 AUD). For comparison, equivalent on Vultr Sydney with managed Postgres is about $42 AUD. Render is competitive once you value the avoided ops work.
The free tier (free Web Service, free Postgres for 90 days, free Disk for 30 days, then expires) is useful only for evaluation. The 15-minute sleep on the free Web Service makes it unsuitable for any external triggers.
When Render Is Not the Right Choice
The honest list. We recommend a different platform when:
You need Sydney-region hosting. Render’s closest region is Singapore. For data residency requirements (Australian Privacy Principles, APRA, sensitive personal information), Render is not the right answer. Use a Sydney-region VPS with Coolify or Docker Compose, or use Fly.io’s Sydney region. We have moved one healthcare client off Render for exactly this reason.
You need queue mode and multiple workers. n8n’s queue mode requires Redis and separate worker containers. Render supports this but the pricing scales with each service. By the time you have a Web Service, a Worker, a Redis, and a Postgres, you are paying about $50 USD per month for an architecture that runs on a single $25 AUD VPS. Docker Compose self-hosted is cheaper at this scale.
Your workflows process large binary files. Render’s bandwidth pricing kicks in at 100 GB per month. Workflows that handle video, large PDFs, or image batches will burn through that quickly. Cloudflare R2 or another object store with free egress is the better destination; do not run binary processing through your Render egress allowance.
You want a UI to manage hosting. Render’s UI is fine but minimal. Coolify on a VPS gives you a richer self-hosted dashboard if you want to manage multiple services from one place.
Production Pitfalls We Hit
Three Render-specific gotchas that cost us time:
The deploy preview workflow. Render builds a preview environment for every PR by default. For n8n this is rarely useful and creates noise. Disable preview environments in the service settings unless you are actively running staging tests.
Disk attached to the wrong directory. If you mount the Disk anywhere except /home/node/.n8n, n8n writes its data to the container’s ephemeral filesystem and loses it on every redeploy. We had a client whose previous developer mounted to /data and was confused why workflow definitions disappeared every time the service restarted. Check the mount path matches what n8n expects.
Postgres connection limits on Starter. The Starter Postgres plan caps at 9 simultaneous connections. n8n’s connection pool defaults to 2 reader and 2 writer connections, leaving 5 for other things. If you also have a separate worker process or run admin queries from a tool like TablePlus, you can hit the limit. Bumping to Standard ($35 USD per month, 30 connections) fixes it. Not a problem for solo n8n, occasionally a problem for queue mode setups.
Migrating Off Render
If you outgrow Render or your needs change, migration is straightforward:
- Take a Postgres dump from the Render database (
pg_dumpagainst the connection string). - Take a snapshot of the Disk’s
/home/node/.n8ncontents. Verify the encryption key is in theconfigfile. - Provision the new environment (Docker Compose host, Fly.io app, Coolify service, whatever you are moving to). Restore the Postgres dump and the data volume.
- Set the same
N8N_ENCRYPTION_KEYenvironment variable. This is the critical step that makes credentials decrypt on the new instance. - Update DNS. Wait for propagation. Verify a known workflow runs cleanly. Decommission Render after 48 hours of confirmed stable runs.
Total migration time for a small instance: about three hours. We have done this twice for clients moving to Sydney-region hosting and once for a client consolidating onto a Coolify install they were already running for other services.
Frequently Asked Questions
How do I deploy n8n on Render?
Create a Web Service from the n8nio/n8n Docker image, attach a 10 GB Disk to /home/node/.n8n, provision a Render Postgres database, and wire the database connection string into n8n’s environment variables. The full render.yaml in this guide is the working starting point. First deploy takes about 4 minutes. Add a custom domain via the Render dashboard once it is up.
Can I host n8n on Render’s free tier?
For evaluation only. The free Web Service sleeps after 15 minutes of inactivity, which makes it unsuitable for any externally-triggered workflows. Free Postgres expires after 90 days. Free Disks expire after 30 days. For real production use, the Starter plan ($7 USD per month for the service plus $7 for Postgres) is the realistic floor.
How do I get the n8n server URL on Render?
Render assigns a default URL in the format your-service-name.onrender.com visible in the Web Service dashboard. Use this for testing. For production, add a custom domain (Settings → Custom Domains), point a CNAME at the Render-provided target, and Render provisions SSL automatically. Update WEBHOOK_URL in the environment variables to match your custom domain or external services will fail to reach your webhooks.
How much does it cost to host n8n on Render?
For a Starter setup (Web Service + Postgres + 10 GB Disk): about $17 USD ($26 AUD) per month. For Standard (2 GB RAM, more headroom): about $35 USD ($54 AUD) per month. Bandwidth is included up to 100 GB per month. Custom domains, SSL, and daily Postgres backups are included at every tier. Add roughly $30 AUD per month if your workflows make heavy AI API calls.
Render vs Railway vs Fly.io for n8n: which is best?
Render is the most opinionated and easiest to set up. Railway is the most pleasant developer experience but more expensive at scale. Fly.io has the best regional coverage (Sydney included) and the cheapest scaling, but the learning curve is steeper. We pick Render for clients who want minimal ops. We pick Fly.io for clients who need Sydney-region inference. We rarely pick Railway for n8n now; the per-execution metering does not suit n8n’s spiky workload pattern.
What is the best way to self-host n8n?
For most small businesses, Docker Compose on a Sydney-region VPS is the cheapest, most flexible, and best-aligned with Australian data residency requirements. Render is the right choice when you do not want to manage a server. Fly.io is the right choice for global multi-region deployments. Coolify is the right choice when you want a UI for self-hosted services. Pick by the constraints that matter most to you.
Does n8n on Render support queue mode?
Yes. Add a Redis instance (Render’s managed Redis or an external one), set EXECUTIONS_MODE=queue, and create a separate Web Service for the worker process pointing at the same image with --worker as the start command. By the time you need this, you are paying for four Render services (web, worker, Postgres, Redis) and self-hosting on a VPS becomes more cost-effective. We typically migrate clients to dedicated infrastructure once they cross this threshold.
How do I back up n8n on Render?
Render’s managed Postgres takes daily backups automatically (7 days retention on Starter, longer on higher tiers). Manual backups can be triggered from the database dashboard. The Disk is not automatically backed up, so any binary data n8n stores will need a separate backup workflow. We typically run a nightly n8n workflow that exports critical data to S3 or Backblaze B2 as a belt-and-braces second copy. Always store the encryption key separately from both backups.
If you want help choosing the right hosting platform for n8n or auditing an existing deployment, get in touch. We are based in Brisbane and we have shipped n8n on every platform worth considering, including Render where it earns its spot.
Last updated on July 1, 2026
Continue Reading
View all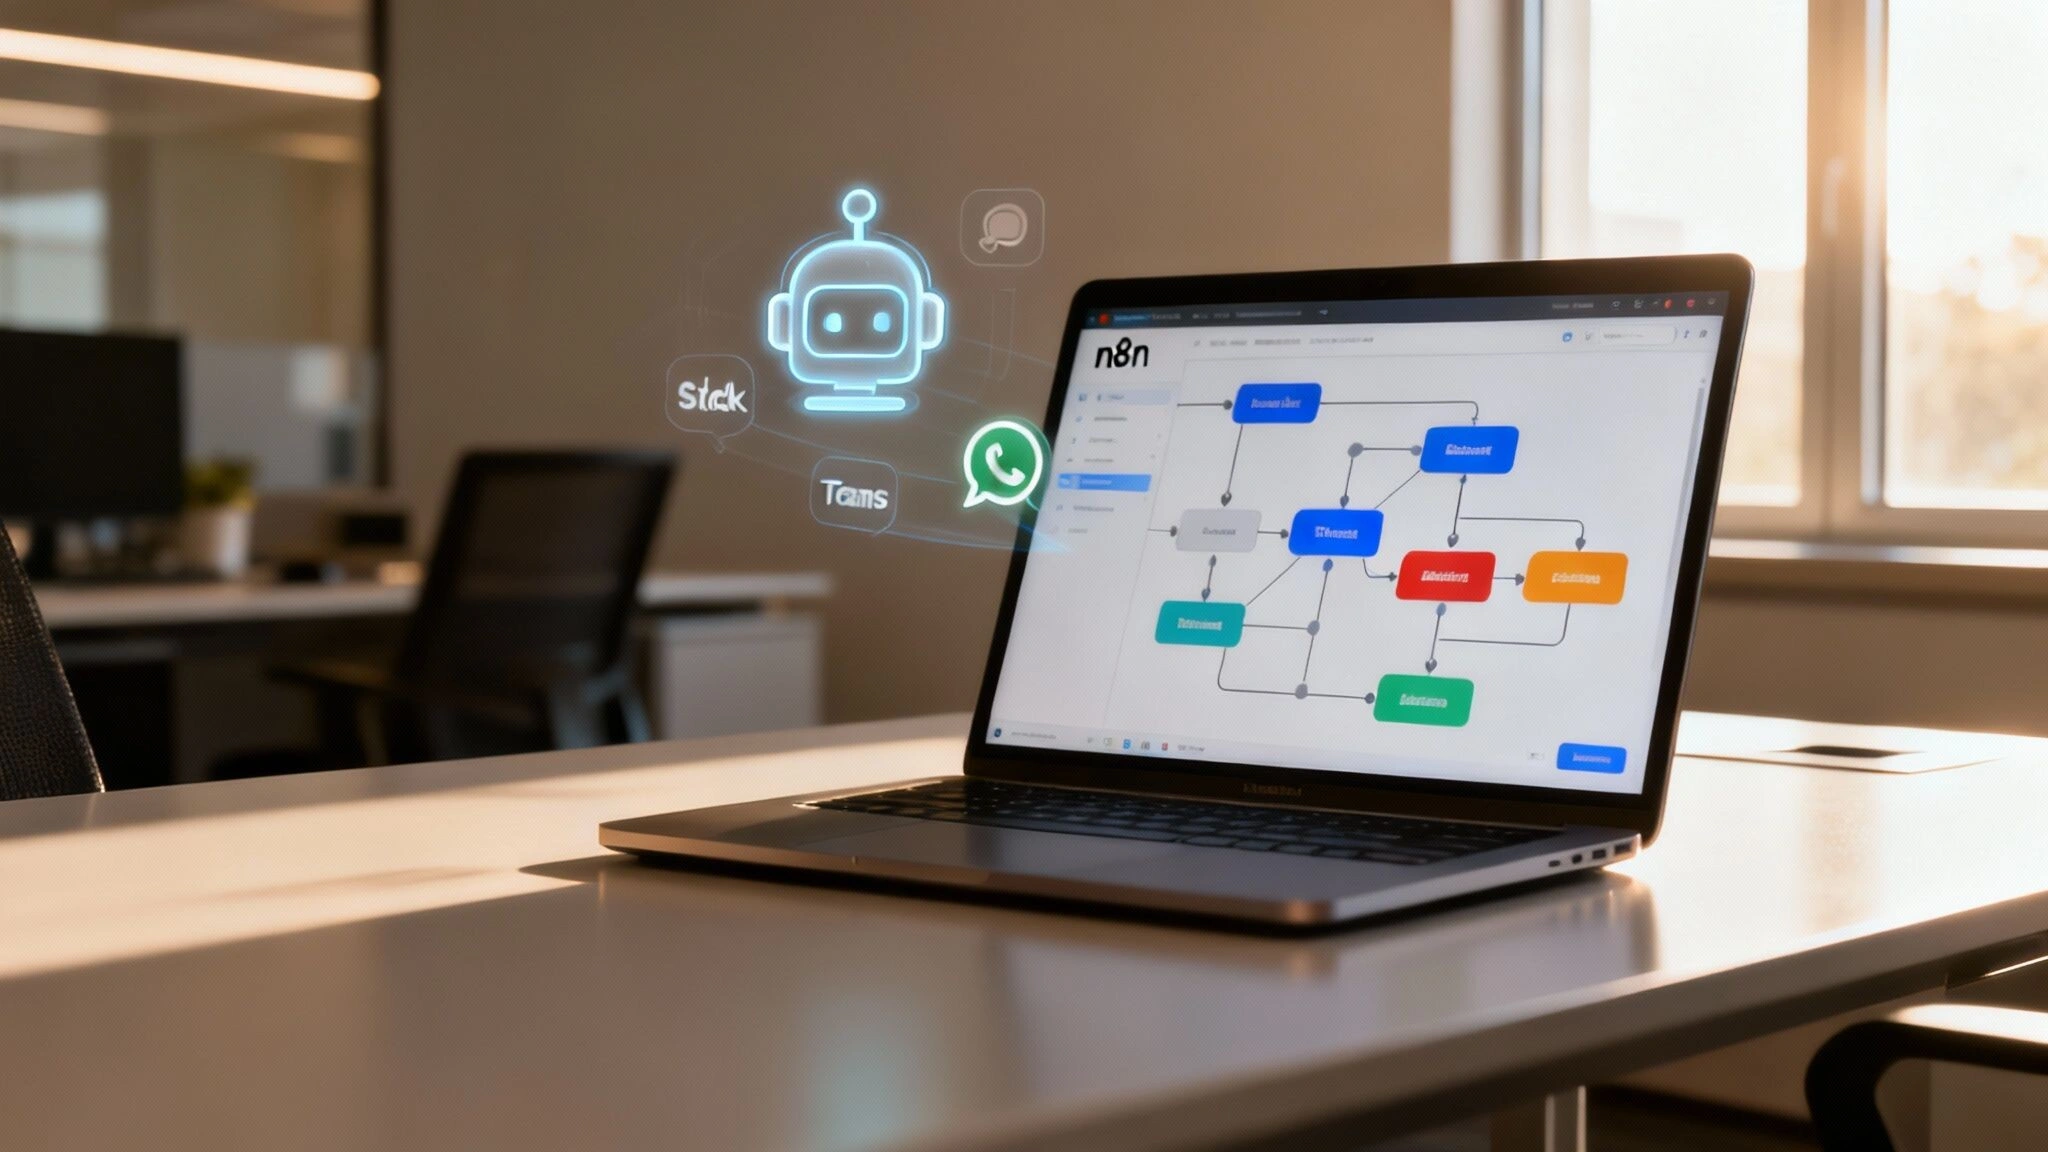
How to Build a Powerful n8n Chatbot
A complete guide to building an n8n chatbot that works. Learn how to design, connect, and scale a powerful bot using LLMs, Slack, and WhatsApp integration.
Oct 26, 2025

Guide to n8n Configuration Settings: Environment Variables, Database, Queues, and Production Tuning
Detailed overview of environment variables for n8n with best practices for deployment, database, security, and more.
Mar 21, 2025

Self-Host vs n8n Cloud: An Australian Cost and Compliance Guide
Self-hosting n8n compared with n8n Cloud, Zapier, and Make. Real AUD cost figures, APP compliance, and an honest decision framework for Australia.
Mar 16, 2025
Sick of reading about automation?
Book a free 15-minute intro call. We’ll talk through what you’re trying to automate and whether we’re a good fit.